Fermented Ragi Idli Recipe
Discover the fool-proof method of making soft, fluffy fermented Ragi Idli using ragi, lentils, and poha. A nutritious and light South Indian breakfast for all ages.
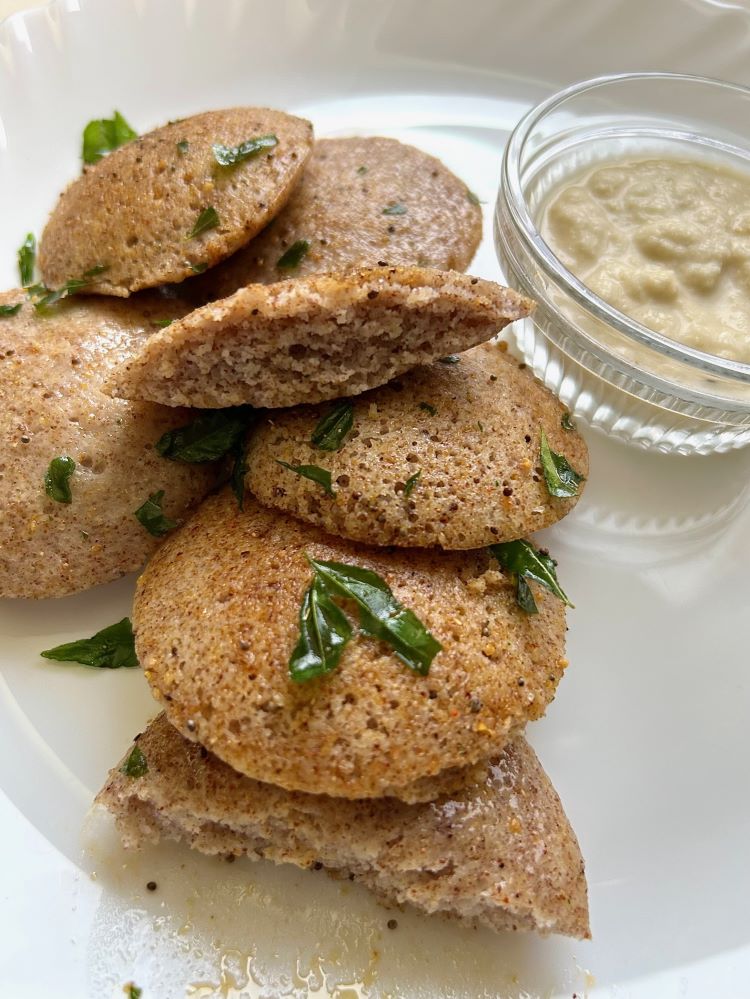
At home Idli is our favourite breakfast. Ragi idli is a nutritious wholesome South Indian breakfast. They are light, easy on stomach and have tremendous health benefits especially if the batter is fermented.
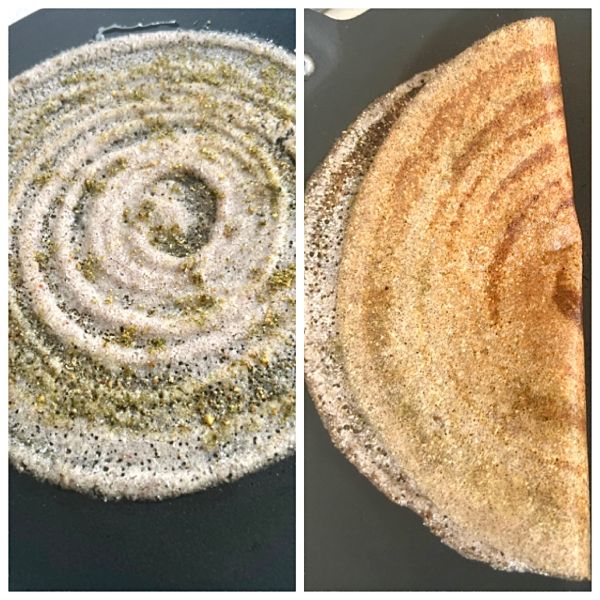
Idlis are like steamed cakes made with lentils, flattened rice (poha) and idli rice. Ragi idli is just another variation where ragi is replaced by rice. This batter will also be beneficial for making ragi dosa the next day. I like to serve these millet idlis with Coconut Chutney or Kara Chutney or Curry Leaves Chutney.
More About Ragi Idli
Ragi idli is made using idli rice, flattened rice (poha), ragi flour, urad dal and fenugreek seeds. The ingredients are first soaked, then the batter is prepared by grinding the ingredients followed by fermentation. Lastly, it is steamed to make idlis. This batter always yields consistently soft idlis.
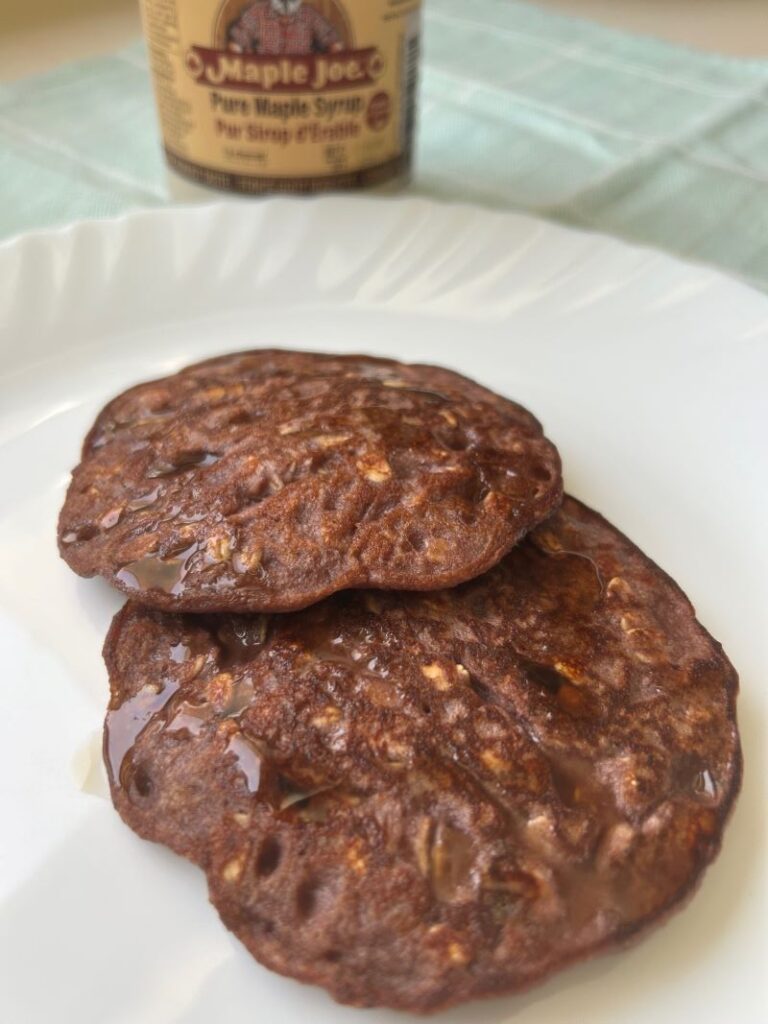
Not just Ragi idli or dosa, this batter can also be used to make paniyarams or appe. In case you are short of time, you can try these instant Ragi Appe for quick and easy breakfast. They come out absolutely delicious and are so healthy. I also love to make these super healthy Ragi Pancakes which is an instant hit among kids.
Given the health benefits of ragi, these steamed cakes becomes a superfood which not only has benefits of whole grains but it is also fermented making it gut friendly.
Why This Recipe for Ragi Idli
While there are countless ragi idli recipes available online, I’ll give you just couple of reasons to convince you to make this your go-to method for making wholesome ragi idlis at home.
- For starters, it’s fuss-free, straightforward, and delivers consistently soft and fluffy idlis.
- Most recipes ask you to soak and grind each ingredient separately—which can be time-consuming and tedious, especially if you’re aiming to get the batter ready in under five minutes. For beginners, grinding separately also increases the chances of adding too much water and ending up with a thin batter that’s not ideal for idlis. This recipe simplifies the process by doing everything in one go. I’ve been making ragi idlis this way for years, and it consistently yields the softest, fluffiest results. Just stick to the proportions and method exactly as outlined—trust me, you’ll get perfect idlis every time.
5 Reasons Why Ragi Should Be In Your Diet
- High fiber content: Ragi is high in dietary fiber which will help to promote proper digestion and keep your bowel movements in check.
- Rich in Calcium: It is an ultimate source of non dairy source of calcium. Just 100 grams of Ragi can give you 344 mg of calcium.
- Supports Gluten- Free Diet: Ragi is a great choice if you are on a gluten-free diet – it’s naturally gluten-free! No need to worry about hidden gluten as it’s a safe and delicious way to enjoy your meals.
- Child Nutrition: It helps to fulfil child’s nutritional needs. It is rich in protein, calcium, iron, zinc and other essential nutrients.
- Treats Anemia: Since Ragi is an excellent source of iron too, which is essential for producing red blood cells, it helps to fight off anemia.
Tips To Make Soft Ragi Idli Always
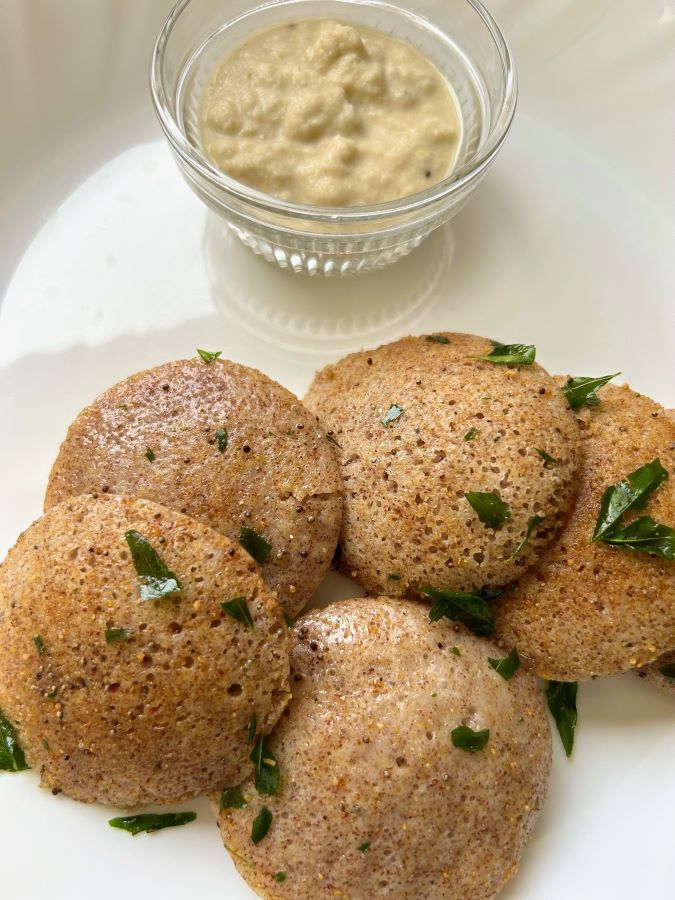
Even if the batter ingredients are in perfect ratio, it is the technique that makes the basic batter the best batter. A good idli must be soft, tender and totally melt in mouth.

- Flat Idli: The most common troubleshooter that I have heard is that, the idli did not rise or they are flat. The most common reason for this is watery batter. If your batter has too much water, the idlis will not rise. They will be hard and flat. Use caution while grinding and do not add all the water in one go. The batter also thins out a little after fermentation. So a BIG CAUTION there!! Use correct measure as mentioned in the recipe.
- Hard Idli: The main reason for the idlis to become hard and almost gelatinous is when you overcook the idlis. The idlis should be steamed for 10 to 12 minutes on a medium flame. I normally go by 10 minutes on the clock. Once you close the lid, that is when the time starts.
- Fluffy Batter: If the batter is not light and fluffy, idlis will not be soft. To get fluffy batter, do not skip fenugreek seeds or methi dana. Methi dana not only helps in fermentation but it also helps to yield fluffy idlis. So make sure you don’t skip it. Add the exact quantity mentioned in the recipe. If you add more, the batter will taste bitter.
Step by Step Instructions
For detailed recipe, please jump to recipe card below.
Soaking the Ingredients
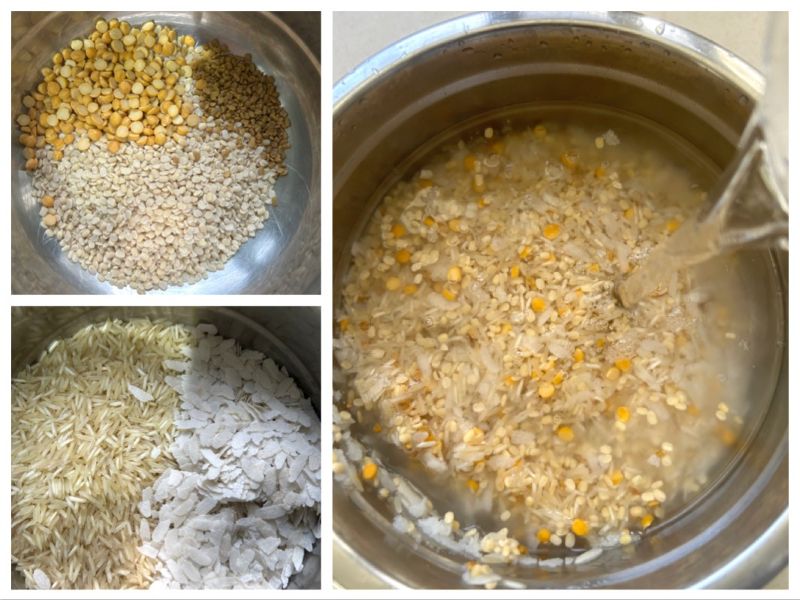
1.Take 1 cup idli rice/parboiled rice or short grain rice in a bowl. Wash it well. You can also make idli with basmati rice. Though this is not an ideal choice but it can be done if the above choices are not available. In this recipe, I will show you how to get perfect idlis with basmati rice.
2. Now, wash 1/2 cup white split or whole urad dal, 1/4th cup channa dal and 1 tbsp fenugreek seeds 3 to 4 times.
3. Wash 1/2 cup flattened rice or in poha 3 to 4 times. Soak rice, poha, lentils and fenugreek seeds together for just 2-3 hours in a large bowl adding enough water.
For Batter
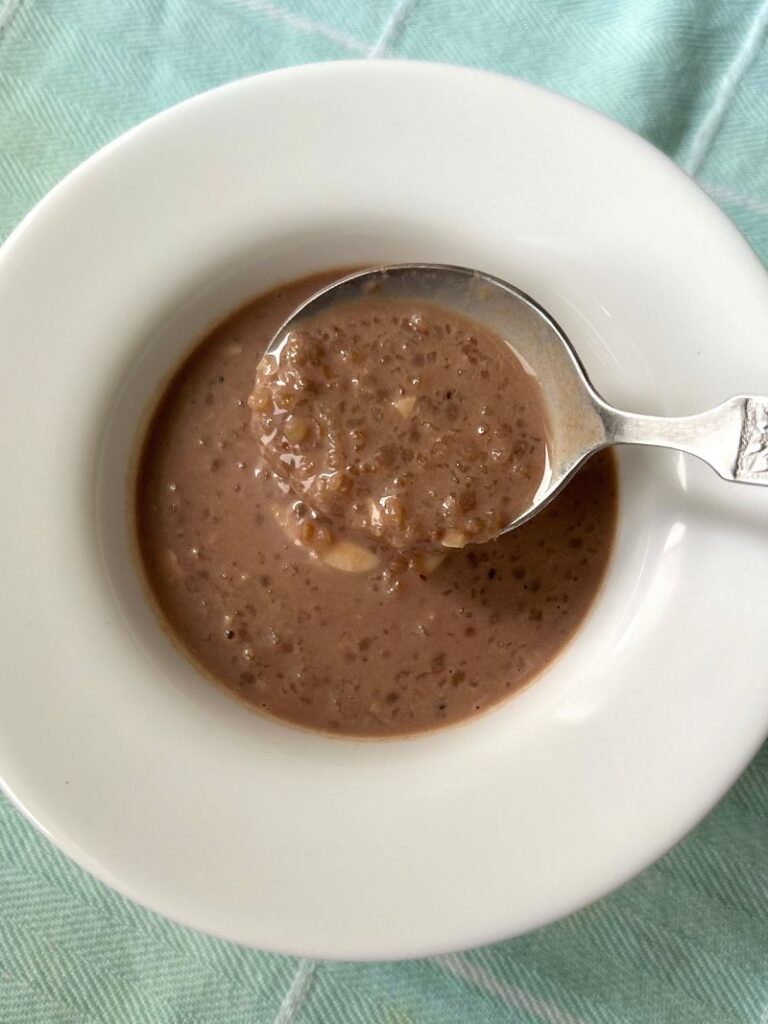
4. Drain the water. Now add the contents in a jar with little water and grind the batter. Depending upon your jar capacity you can grind the batter in 2 or 3 batches. Add little more water if required. Don’t add too much water in one go. Add little at a time. This is super important.
Note: The batter consistency should be thick and at the same time should have flowing consistency. The batter also becomes thin after fermentation.
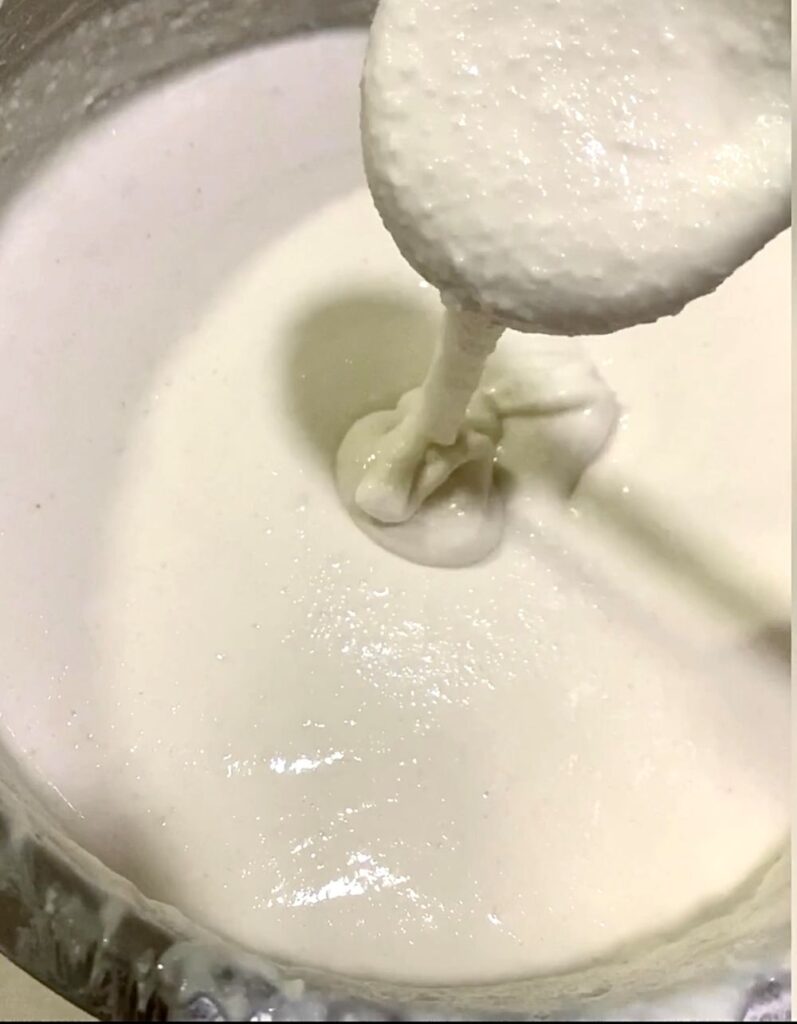
5. Once the batter is smooth, empty the contents from the jar into a large steel bowl.
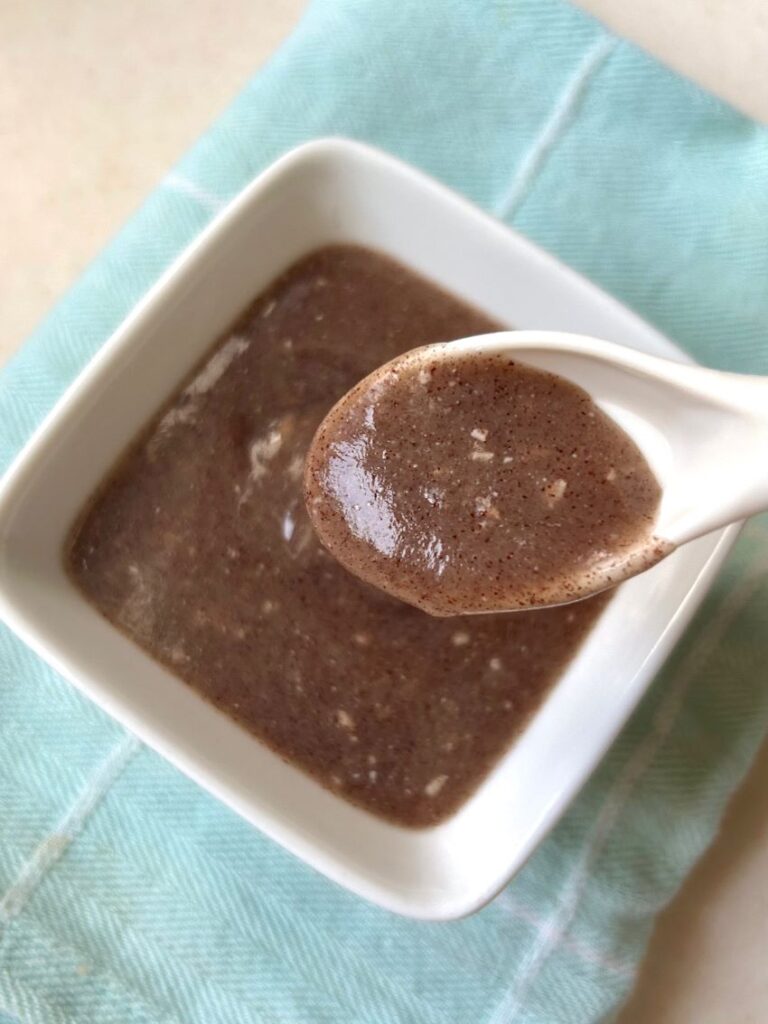
6. Add roughly 1/2 cup of water to 1/2 cup ragi flour and make a smooth consistency batter. Make sure there are no lumps.
7. Mix ragi batter with rice and lentil batter till it completely incorporates.
8. Add 1 tsp rock salt. Cover the bowl with a lid and keep the batter in a dark warm place for 9 hours.

Note: The time of fermentation will depend upon the temperature of the place you are at. If it is hot and humid, the batter will ferment in 8 hours. In winters batter might take more than 12 hours to ferment. In winters, keep it in a warm place, probably in a preheated oven and wrap the bowl with a warm cloth to speed up the fermentation process.
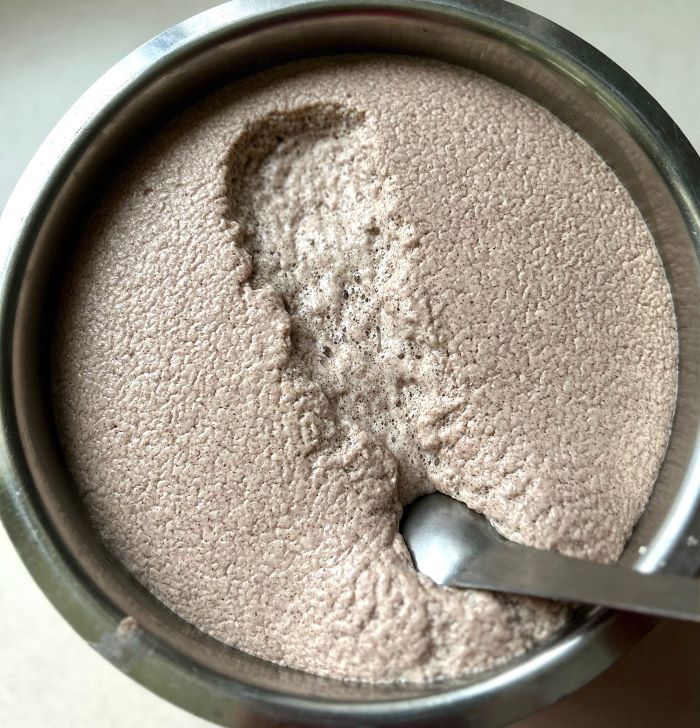
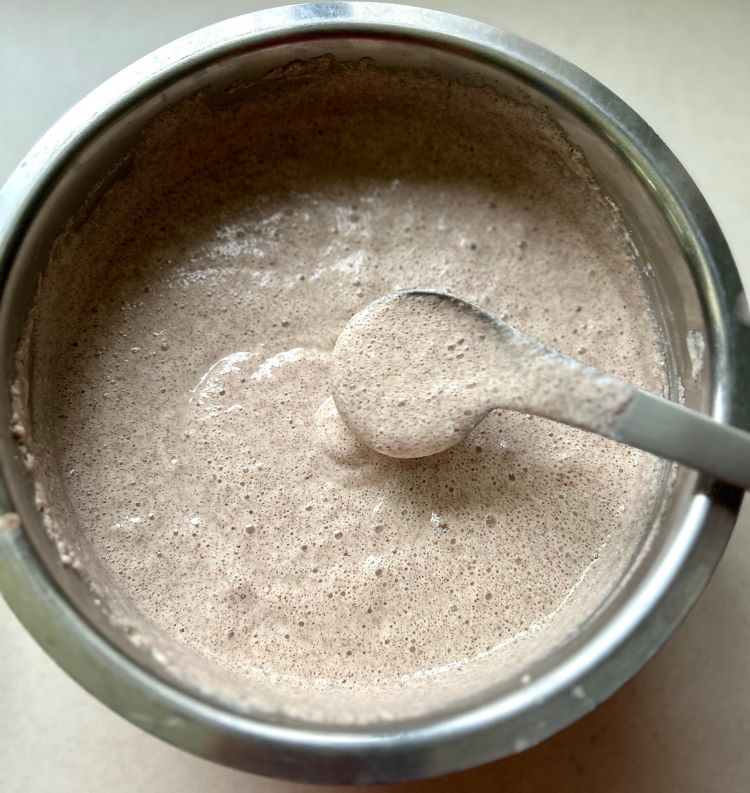
9. The batter will double and become fluffy and airy with bubbles. Now add some more salt if required and give a gentle mix before making the idlis. Do not mix rigorously or you will loose the airiness of the batter.
For Cooking
10. Bring water (roughly 3″ above) in an idli maker to boil. Grease idli moulds with oil/ghee. Fill in the cavities.
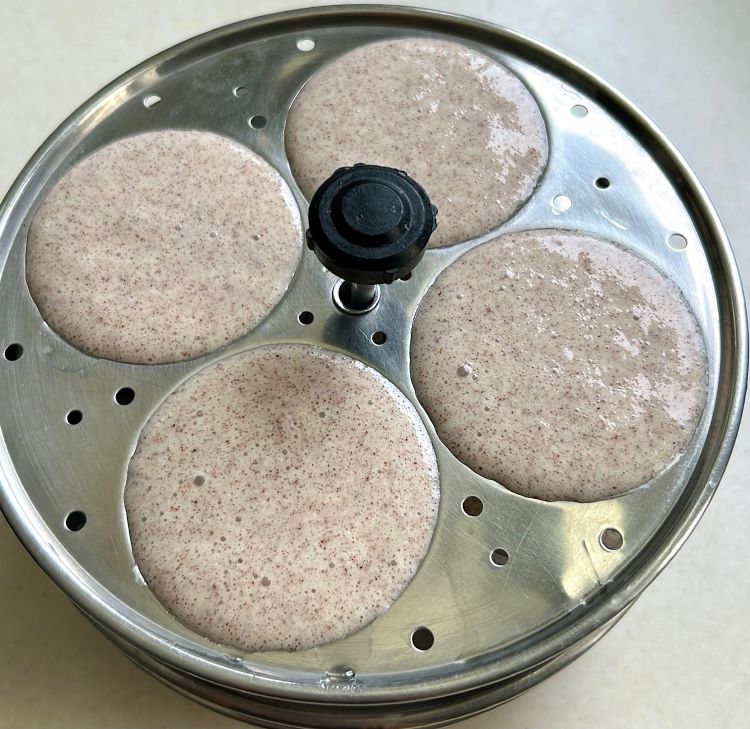
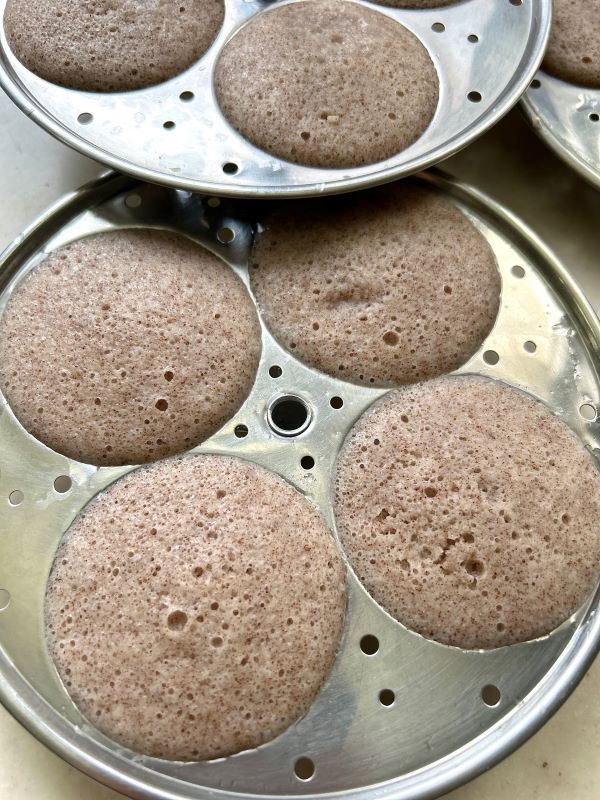
11. Steam the idlis in an idli maker for 10 or 11 minutes. After, you switch off the gas wait for a minute or two to open the steamer. To check if idli is cooked, insert toothpick at the centre. It should come out clean and shouldn’t be sticky.
Tips For Fermentation
- Add rock salt or sendha namak to the batter before fermenting. Salt helps in fermentation. Do not use iodised salt. Chemicals in table salt hinders fermentation.
- Do not skip fenugreek seeds. It helps the batter to get bubble like texture. Also, it’s makes dosa crispier.
- Add enough water while grinding the batter to get smooth and fluffy batter. Do not add water in one go. Keep adding little at a time. This will give you soft idlis.
- Mix the final batter with your hands for a minute and then keep it at a warm place. The warmth in your hand will help in fermentation.

Fermented Ragi Idli Recipe
Ingredients
- 1/2 cup Ragi Flour
- 1 cup Idli Rice/Parboiled Rice/Broken Rice
- 1/2 cup White Split or Whole Urad Dal
- 1/4 cup Channa Dal/Bengal Gram
- 1/2 cup Flattened Rice/Poha
- 1 tbsp Fenugreek Seeds
- 1 tsp Rock Salt Rock salt is required for fermentation
- Salt to taste
- Oil/Ghee As required for greasing
- 250 ml Water or as required
Instructions
Soaking the Ingredients
- Take 1 cup idli rice/parboiled rice or short grain rice and 1/2 cup poha in a bowl. Wash it well. You can also make idli with basmati rice.
- Now, wash 1/2 cup white split or whole urad dal, 1/4th cup channa dal and 1 tbsp fenugreek seeds 3 to 4 times.
- Soak rice, poha, lentils and fenugreek seeds together for just 2-3 hours in a large bowl adding enough water.
For Batter
- Drain the water. Now add the contents in a jar with little water and grind the batter. Depending upon your jar capacity you can grind the batter in 2 or 3 batches. Add little more water if required. Don’t add too much water in one go. Add little at a time.
- Once the batter is smooth, empty the contents from the jar into a large steel bowl.
- Add roughly 1/2 cup of water to 1/2 cup ragi flour and make a smooth consistency batter. Make sure there are no lumps.
- Mix Ragi batter with rice and dal batter till it completely incorporates.
- Add 1 tsp rock salt. Cover the bowl with a lid and keep the batter in a dark warm place for 9 hours.
- The batter will double and become fluffy and airy with bubbles. Now add some more salt if required and give a gentle mix before making the idlis. Do not mix rigorously or you will loose the airiness of the batter.
For Cooking
- Bring water (roughly 3" above) in an idli maker to boil. Grease idli moulds with oil/ghee. Fill in the cavities.
- Steam the idlis in an idli maker for 10 or 11 minutes. After, you switch off the gas wait for a minute or two to open the steamer. To check if idli is cooked, insert toothpick at the centre. It should come out clean and shouldn't be sticky.
Notes
- The batter consistency should be thick and at the same time should have flowing consistency. The batter also becomes thin after fermentation.
- The time of fermentation will depend upon the temperature of the place you are at. If it is hot and humid, the batter will ferment in 8 hours. In winters batter might take more than 12 hours to ferment. In winters, keep it in a warm place, probably in a preheated oven and wrap the bowl with a warm cloth to speed up the fermentation process.
Do try out this recipe and let me know in the comment section how soft and melt in mouth your idlis turned out this time. I would love to hear from you. 🙂