

Softest Homemade Paneer Recipe
Tired of making crumbly, hard paneer at home? Learn the foolproof method to make soft, creamy, yet firm store-bought style paneer with this simple guide!
If you’ve ever wondered how to make soft yet firm paneer at home—just like the store-bought kind—then look no further. This simple step-by-step guide will help you achieve the softest, most perfect paneer in your own kitchen.
Making paneer at home isn’t rocket science. All you really need is good quality milk and an acidic agent like lemon juice or vinegar to curdle it. Sounds simple, right? And it is—but the real challenge lies in getting that ideal texture. Paneer should be firm enough to hold its shape, yet soft and creamy.
More About Paneer
Paneer or Indian cottage cheese is fresh cheese made by curdling milk using an acidic ingredient. It is a soft but firm non-melting cheese. Unlike other cheese like mozzarella, making paneer doesn’t require rennet. It is also not fermented or aged like other cheese.
It is made by curdling boiled milk with acidic agent like lemon juice, vinegar, sour yogurt. When the milk is curdled, it is separated from whey using a colander which is lined with either muslin or cheese cloth. Lastly, it is pressed using a heavy object to set.
You can also try these paneer recipes: Mild and Tasty Kali Mirch Paneer, Healthy Veggie Paneer Roll, or this Easy, Healthy Low Fat Cream Cheese
Why Make Paneer at Home
Honestly, I can’t even remember the last time I bought paneer from the market. I just don’t trust the quality. You have no idea what kind of milk they are using, how may preservatives or other additives have been added to increase the shelf life.
And now, with this alarming trend of “Analog Paneer” or fake paneer making the rounds, my trust in store-bought paneer has completely eroded. If you haven’t heard of it, analog paneer is a counterfeit version of paneer. Its is made from vegetable oils, starch, and milk solids—completely lacking the purity and nutrition of real paneer. Worse, it can pose serious health risks over time.
Ever since I learned about this, the vegetarian in me has started questioning the authenticity of the paneer served even in some of the finest restaurants.
If you are someone who loves paneer, honestly, this is a wake up call for you! There is no need to settle for uncertainty when you can make your very own wholesome paneer at home. No preservatives, no shortcuts—just pure, fresh, safe and delicious paneer made with high-quality milk.
Step by Step Instructions
1. Start with boiling full fat cow or buffalo milk. To yield soft paneer, it should have atleast 50% fat and 80% moisture. So, if possible use full fat milk only.
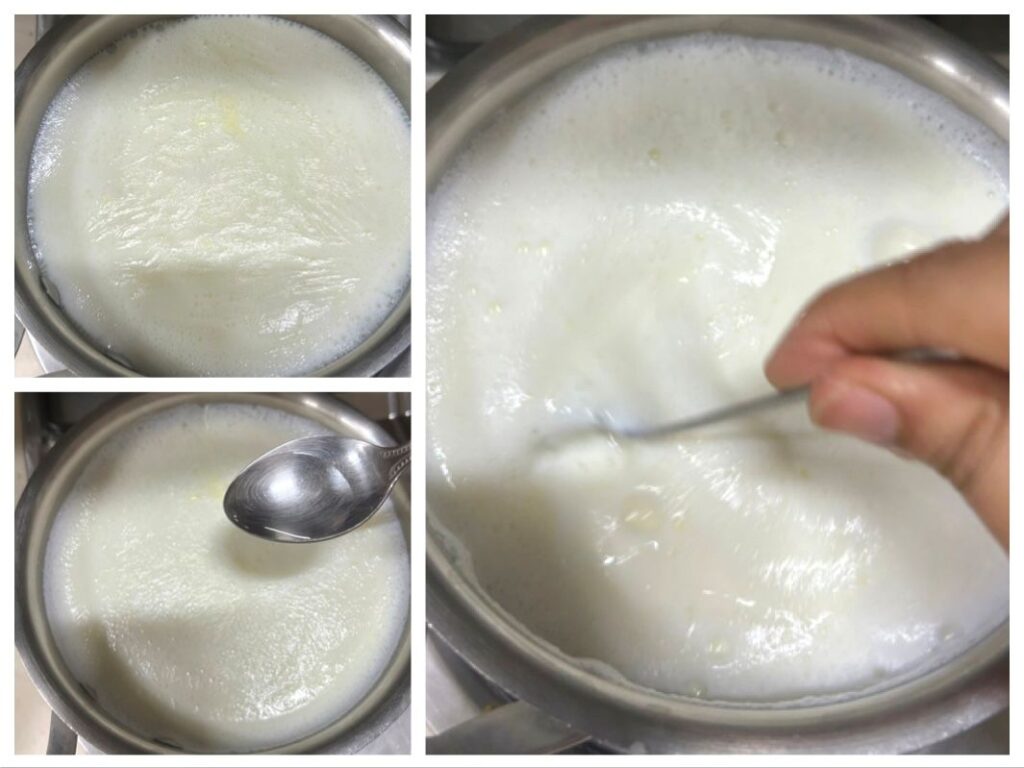
2. Once the milk has boiled, switch off the flame. Now keep adding and mixing either lemon juice or white vinegar till the milk curdles and whey separates. I used white vinegar. For 1 litre full fat cow milk, I had to use 2 tbsps of white vinegar.
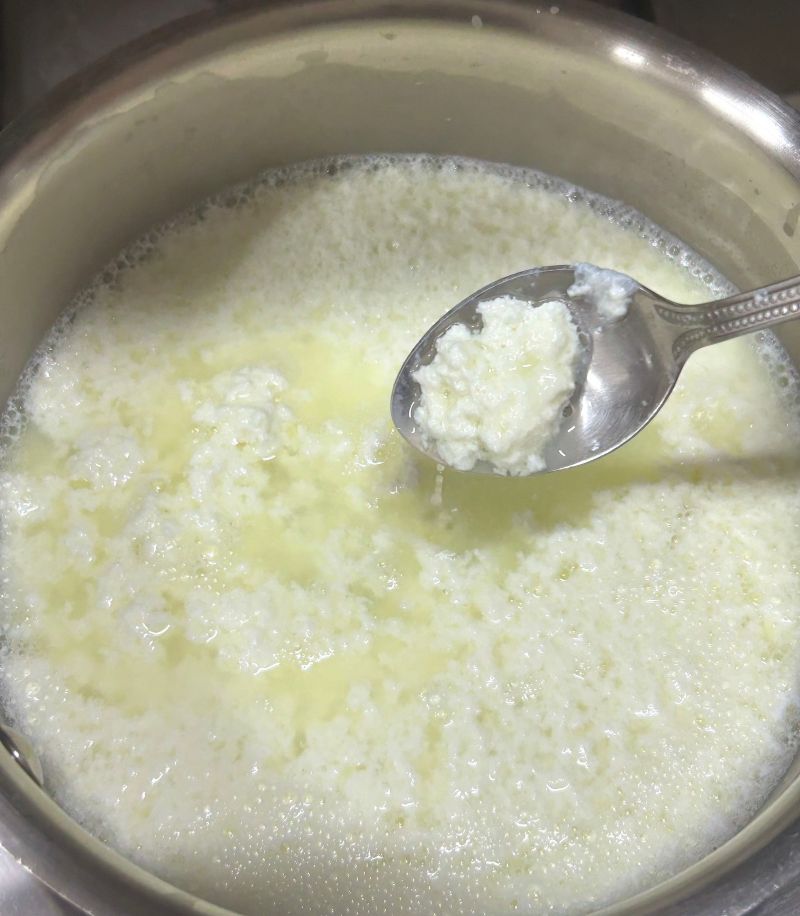
3. Once the whey has separated, take a colander and line it with either muslin or cheese cloth. Drain out the whey completely.
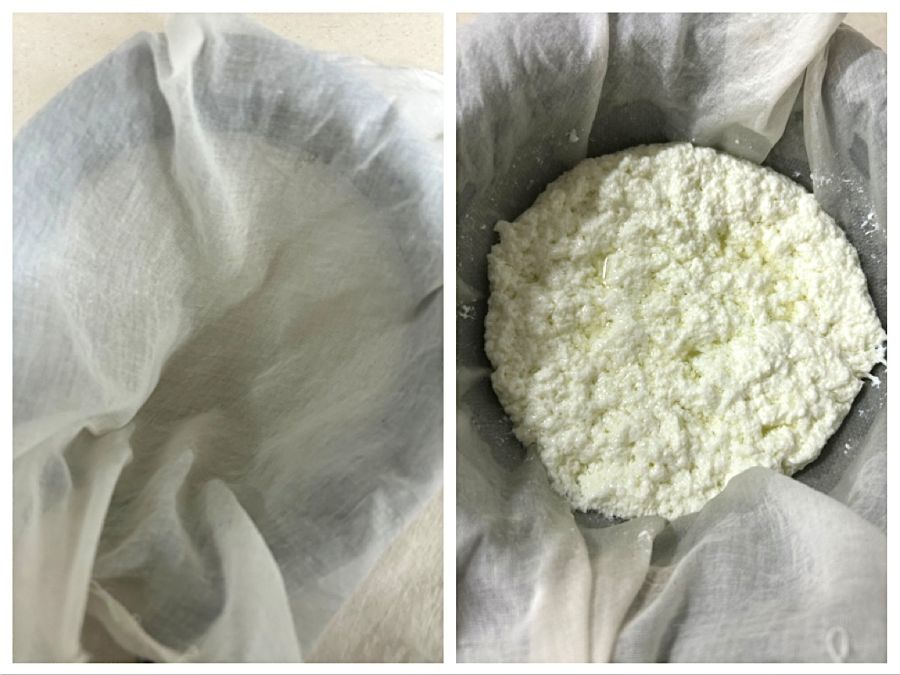
4. Next, rinse the milk solids with fresh water to get rid of the sourness from lemon juice.
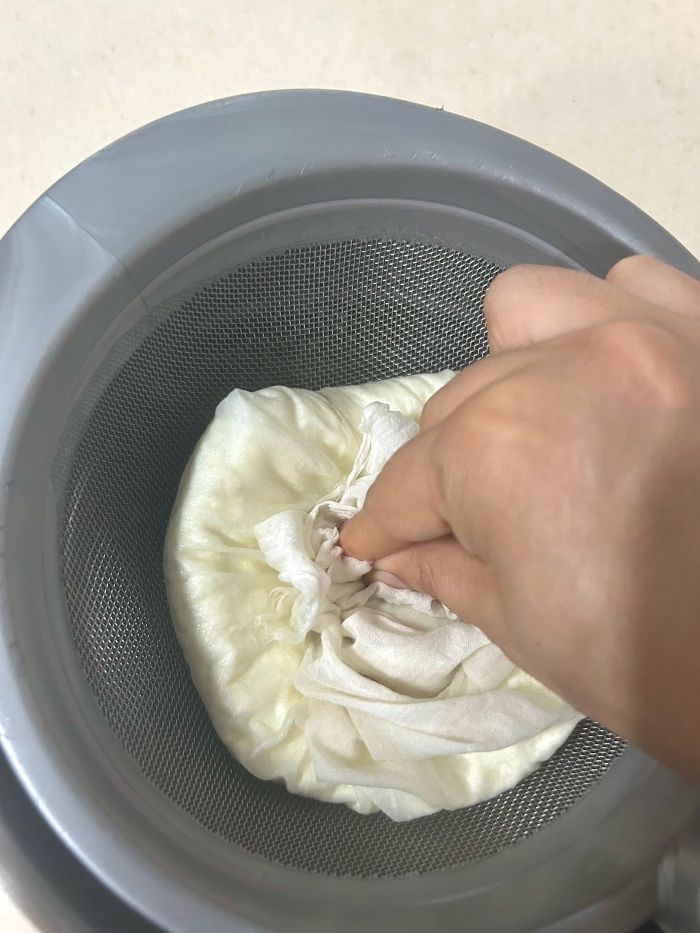
5. Squeeze out little bit of water from the milk solids. Remember to not squeeze out all the water from milk solids. The more water paneer will have, the softer it will be.
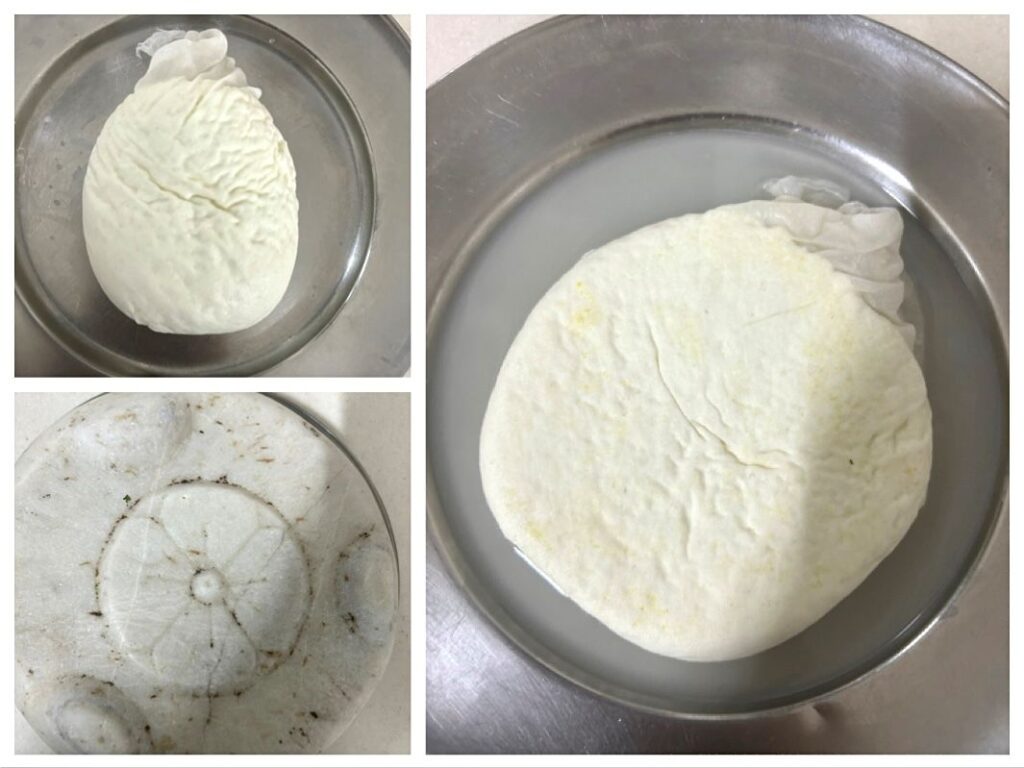
6. Lastly, wrap the paneer in the wet cheese cloth and put it on a plate. Place some heavy weight on top. Keep the weight for not more than 3-4 minutes because the longer you will keep the weight on top, it will keep loosing it’s water.
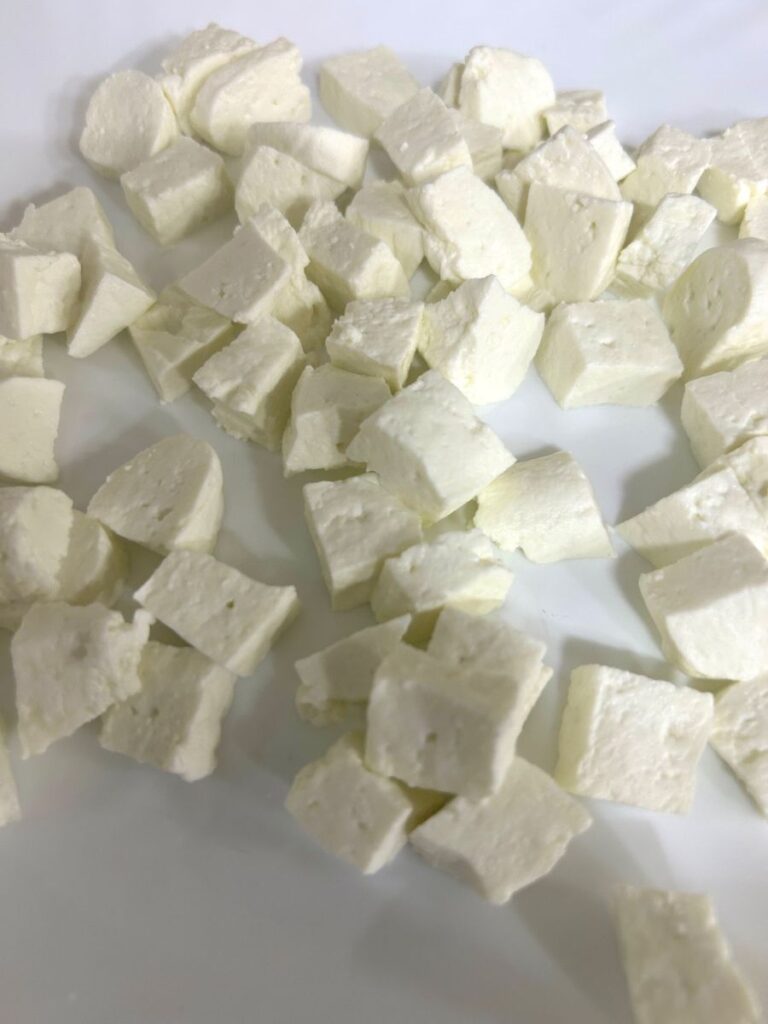
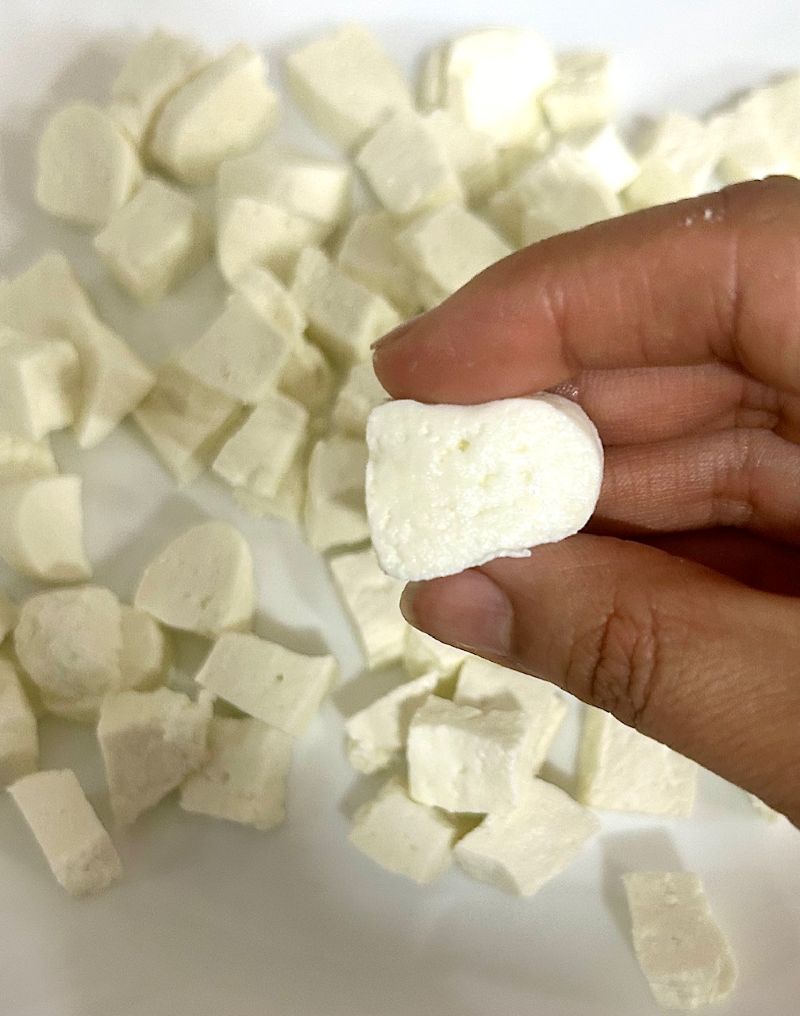
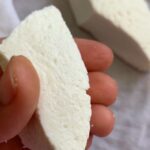
7. Remove the cheese cloth and you will have a beautiful block of soft paneer.
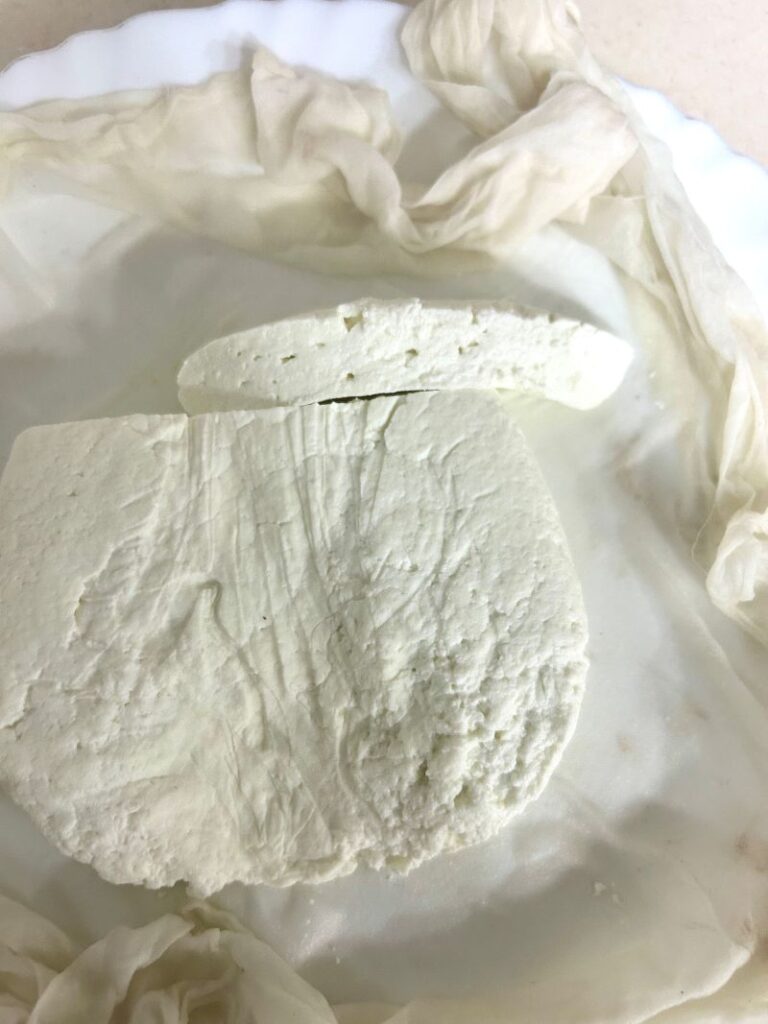
8. Cube the paneer and use as required.
Follow These Tips For Soft Paneer
- Always add lemon juice or white vinegar after the milk has come to a boil and you’ve turned off the heat. Do not add the acidic agent while the milk is still boiling—doing so can lead to uneven curdling and affect the texture of your paneer
- Always use full fat milk for making paneer.
- Add lemon juice or vinegar one tbsp at a time. Adding too much in one go will lead to harder and grainer paneer. Add little by little until the milk curdles.
- Once the curds form, don’t squeeze out all the water. Soft paneer is about 80% moisture, so retaining some is crucial. When setting the paneer, place a heavy weight for not more than 3–4 minutes. Any longer can make it crumbly and dry.
- There is no need to hang paneer to completely separate the whey or place it under heavy weight for too long. This is where most people make mistake and they end with firm but not soft paneer.
Follow these tips till T and you will definitely get a super soft market-like paneer
Storage of Leftover Paneer
Wrap the leftover paneer in a wet cheese or muslin cloth and put it in a bowl which has a lid. Next add water in the bowl, which is enough to cover the paneer. Close the lid and refrigerate it. It will stay fresh for good 4-5 days or maybe even a week.
Softest Homemade Paneer Recipe
Ingredients
- 1 litre Full Fat Milk
- 2-3 tbsp Lemon juice/Vinegar
Instructions
Curdle Milk
- Start with boiling full fat cow or buffalo milk.
- Once the milk has boiled, switch off the flame. Now keep adding and mixing either lemon or white vinegar till the milk curdles and whey separates.
Strain and Rinse
- Once the whey has separated, take a colander and line it with either muslin or cheese cloth. Drain out the whey completely.
- Next, rinse the milk solids with fresh water to get rid of the sourness from lemon juice.
- Squeeze out little bit of water from the milk solids. Remember to not squeeze out all that water from milk solids.
Set the Paneer
- Lastly, wrap the paneer in the wet cheese cloth and put it on a plate. Place some heavy weight on top. Keep the weight for not more than 3-4 minutes because the longer you will keep the weight on top, it will keep loosing it's water.
- Remove the cheese cloth and you will have a beautiful soft block of paneer. Cube the paneer and use as required.
Notes
- Always add lemon juice or white vinegar after the milk has come to a boil and you’ve turned off the heat. Do not add the acidic agent while the milk is still boiling—doing so can lead to uneven curdling and affect the texture of your paneer
- Always use full fat milk for making paneer.
- Once the curds form, don’t squeeze out all the water. Soft paneer is about 80% moisture, so retaining some is crucial. When setting the paneer, place a heavy weight for not more than 3–4 minutes. Any longer can make it crumbly and dry.
- There is no need to hang paneer to completely separate the whey or place it under heavy weight for too long. This is where most people make mistake and they end with firm but not soft paneer.
I hope you give this a try and enjoy the softest homemade paneer ever! Don’t forget to share your results in the comments. I’d love to cheer you on. 🙂

Beautiful ❤️
Thank you 🙂